In this post I want to introduce you to git, a source control system which we will be using this semester to distribute and exchange software. We will furthermore be using the site gitorious.org as the home for our repositories.
Set up a gitorious account. Go to gitorious.org and register if you don’t already have an account. Login.
Overview of git workflow. Before proceeding to the details, take a look at this diagram showing how the workflow for the course will be organized. (Ideally it would be embedded on this page so you could look and read at the same time but … alas …) Since using gitorious requires the use of ssh security, we begin with describing how to setup ssh keys.
Setting up ssh keys. We first need to install some encryption keys on your local machine which will allow you to use the ssh protocol to “push” your changes back onto the gitorious repository in a secure way. You’ll need to install these keys on every machine you use to communicate with gitorious.
- Go to your home directory and check if the directory .ssh exists. If it doesn’t, create it with the shell command: “mkdir .ssh”.
- Execute the shell command “cd .ssh”.
- If the files id_rsa and id_rsa.pub already exist, you can skip the next step.
- Execute the shell command “ssh-keygen -C name@address”. The last argument should be your email address. If the program asks for input, simply hit return or enter (except on Windows — see below). This will generate the files id_rsa (the private key) and id_rsa.pub (the public key) without extra password protection.
- On Windows if the command ssh-keygen does not exist, download git for windows form the official git page and look for a shell called git-bash. With this shell you can do all the steps of the tutorial.
- Warning: on Windows, it appears you must give a name for the key file. Give the string “id_rsa”.
- Copy the contents of id_rsa.pub into the clipboard, for example, by executing “cat id_rsa.pub”, selecting the resulting text, and copying it into the clipboard with Cmd-c.
- Login to your gitorious account. Select “Settings” on your dashboard, and then click on the button “Manage SSH keys”
- On the resulting page, click on the button “Add SSH key”.
- Paste the contents of id_rsa.pub (from step 4) into the large text field which is displayed, and click on the “Save” button.
- Back on the list of SSH keys on your gitorious account, the new SSH key should immediately appear. There will be an “x” under the “Ready?” field; this should change to a check after a few minutes. Once it does, you are ready to roll.
- If you use more than one machine for the course work for this course, you’ll need to install these keys on each such machine. The simplest way is to copy the two key files from .ssh directory onto the .ssh directory on the other machines. This way you avoid having to add other SSH keys to your gitorious account.
Cloning repositories. The next step is to clone the git repository for this course into your gitorious account. First make sure you are logged in to your gitorious account.
- To clone the repository for this course, enter “https://gitorious.org/tu-mathvis-ws13” in your browser window. The home page for the gitorious repository for this course should appear, (owned by gitorious user “gunn”).
- On the right-hand side, there should be a heading “Repositories”. Click on the single entry there “tu-mathvis-ws13/tu-mathvis-ws13”.
- On the right side of the resulting page you should see a “Clone” button. Click this button. A window should appear, informing you that the repository is being created.
- Once the cloned repository is created, its content is shown.
- Return to the dashboard view of your own gitorious account, and refresh the browser view. You should now see the tu-mathvis-ws13 repository listed on the right side under the heading “Your repositories”.
Adding collaborators to a gitorious project. Each team needs to create one clone as above. Other group members can then be added to the cloned repository as collaborators. Assume the first student’s account name is wingthor and the second is loki. wingthor has cloned the tu-mathvis-ws13 repository and wants to add loki as a collaborator. Here’s how to do this:
- On the gitorious page for wingthor’s cloned repository, there should be a tab (on the right end) entitled “Admin”.
- Select the menu item “Manage collaborators”. Select this.
- In the text field next to the blue button labeled “Add as Collaborator”, enter the team member’s gitorious name, for example, “loki”, and make sure he has full permissions (“review”, “commit” and “administer”).
- Then click the “Add as Collaborator” button. He/She should then appear in the list of collaborators.
Accessing your cloned repository in eclipse.
The final step is to access the cloned repository in eclipse. I recommend that you create a separate workspace for the course, let’s say it’s a folder called myws. The following directions use eclipse as an interface to git; it’s also possible to use git directly via command-line or shell as was shown in the tutorial.
- Start up eclipse, open this empty workspace, and go to the “Git Repository Exploring” perspective.
- Cloning jReality
- Select the menu item (also available as icon on top toolbar) “Clone a repository”.
- Enter git@gitorious.org:jreality/gunns-jreality.git in the window that pops up. It should automatically fill in other fields of this window.
- Click “Next” twice to move to the final dialog window.
- Edit the “Directory:” field to be “…/myws/jreality” (or whatever you named your workspace.)
- Choose “Initial branch:” to be “develop” (not “master”!).
- Click “Finish”.
- It takes a bit of time, but eventually it should copy all repository entries and report success.
- Switch to the “Package Explorer” perspective. Select menu item “Import…->General Project->Existing Project Into Workspace…”.
- Give the directory given in point D.) above as the location of the project, and click “Finish”.
- You should now see the project “jreality” in the Package Explorer.
- To check that it works, you can navigate to the src-tutorial directory and try running some of the tutorial examples. (Using right-click then “Run As…->Java Application”.
- Cloning the course repository tu-mathvis-ws13.
- Logged in to your gitorious account, find the label “Your repositories” and click on the entry corresponding to the tu-mathvis-ws13 repository you cloned.
- In the window that appears, make sure the “ssh” button is selected and then select the text in the text field that should look something like: “git@gitorious.org:tu-mathvis-ws13/wingthors-tu-mathvis-ws13.git” (instead of wingthor you should see your gitorious account name).
- Return to the “Git Repository Browsing” perspective in eclipse.
- Select either the “clone repository” icon in the upper tool bar, or simply right click and choose the entry “Paste repository path or URL”. The result should be a filled-in dialog window entitled “Source Git Repository” (filled-in with the contents of the clipboard). Make sure that protocol: “ssh” is selected, then click “Next” at the bottom of the window.
- If the ssh keys have been successfully installed, it should then produce a window entitled “Branch selection”. Since there’s only one, all you have to do is click “Next”.
- Now you should see a window entitled “Local destination”. Edit this text field to be a folder in your workspace with an appropriate name, like tu-mathvis-ws13. Then click “Finish”.
- Switch to the Package Explorer perspective in eclipse.
- Follow the same directions as above to add the eclipse project to the Package Explorer.
- You should see two projects now: jReality and “tu-mathvis-ws13”, or whatever you named it.
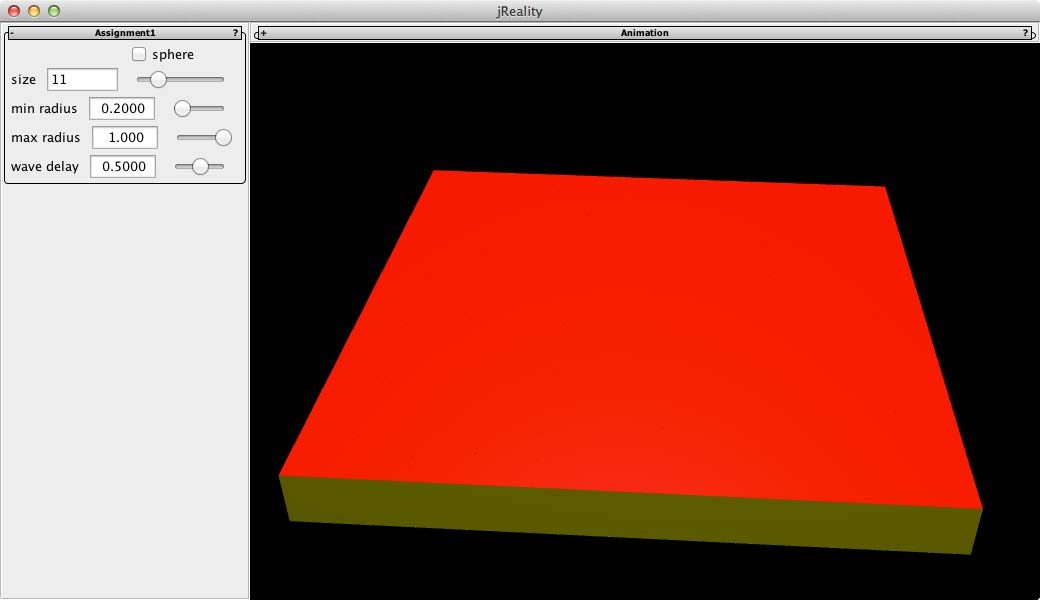
- Open up the course project and find the Java file src/template/Assignment1.java. Select it, right click, and select “Run as Java application”. You should see a window that looks something like:
 That concludes the installation process.
For further information about using git, see this follow-up post.
Using the git command-line interface instead:
1.
Pingback: Course Log | Mathematical Visualization
Shall we bring our laptops to the lecture on thursday?
I don’t think it will be necessary to bring laptops to the lecture. I will finish talking about matrices and go over Assignment1 in detail, using the beamer. You might find it convenient to have your laptop, for example, if you want to experiment with Assignment1 as I discuss it — but I leave that up to you. Of course if you are planning on attending the tutorial on thursday afternoon you will need your laptop.