
Until now we only used standard geometries that come with Houdini or that we build using VEX. But how do we get other geometries into the scene?
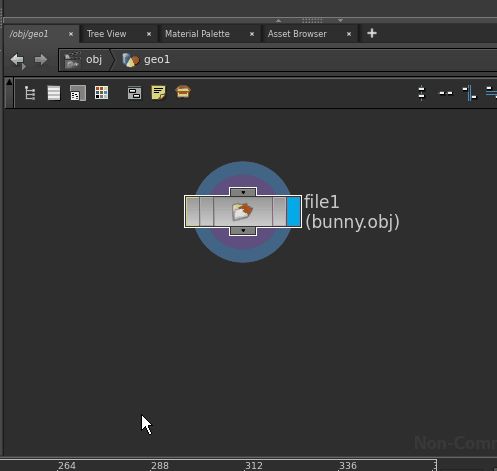
General geometries can be loaded from files (like the Stanford bunny object file). To load the file manually you can use the menu bar: Go to File \(\rightarrow\) Import\(\rightarrow\) Geometry and choose the path of your geometry file. This action creates a geometry node with a file node inside that contains the path. Instead using the menu, one can also use the file node directly. This way we can access geometry files from inside existing networks. A large library of geometry models can be found e.g. at the AIM@SHAPE website.
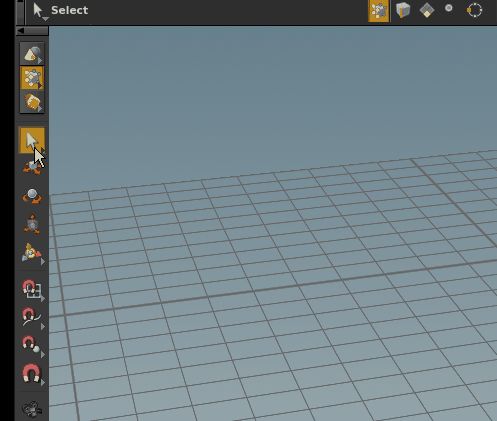
Next you should try to manipulate the geometries a bit. With the select > object select mode you can pic an object and manipulate it using the hotkeys E,R,T for scaling, rotation and translation respectively (expand, rotate, translate).
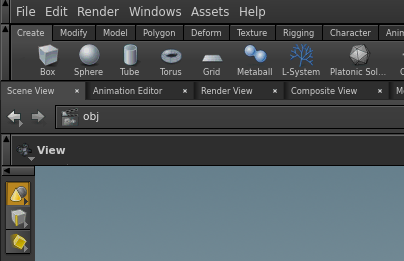
Go ahead and give the bunny some geometric company. Use some of the easy to create geometries.
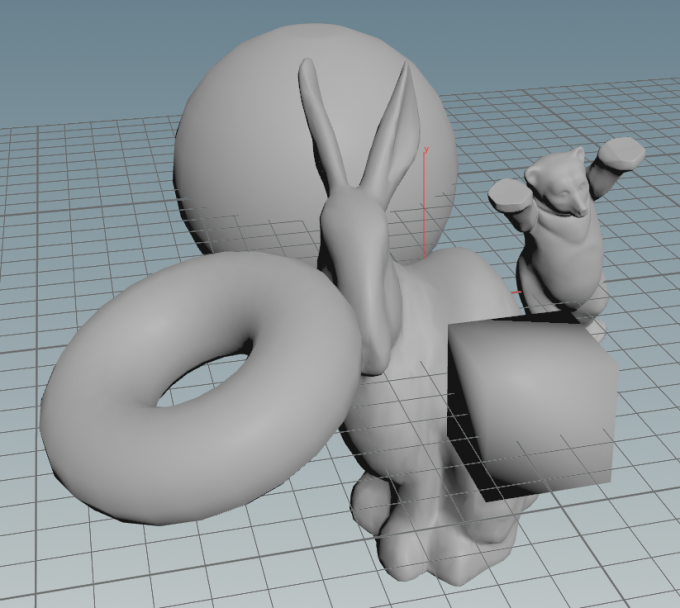
If you placed multiple geometries inside one geometry node make sure to use the merge node to combine them into one object to see all at once.
