Visual perception is always slightly irritated when it is confronted with understanding objects that are just floating in empty space, with no clues concerning the surrounding environment. For this reason the slight gradient in Houdinis Scene View is already helpful: The darker color at the top of the window creates the impression of spatial depth. A uniform color would be visually more disconcerting.
So even if we only want to investigate a single object, it is often desirable to place the object in some simple unobtrusive environment and provide the corresponding lighting.
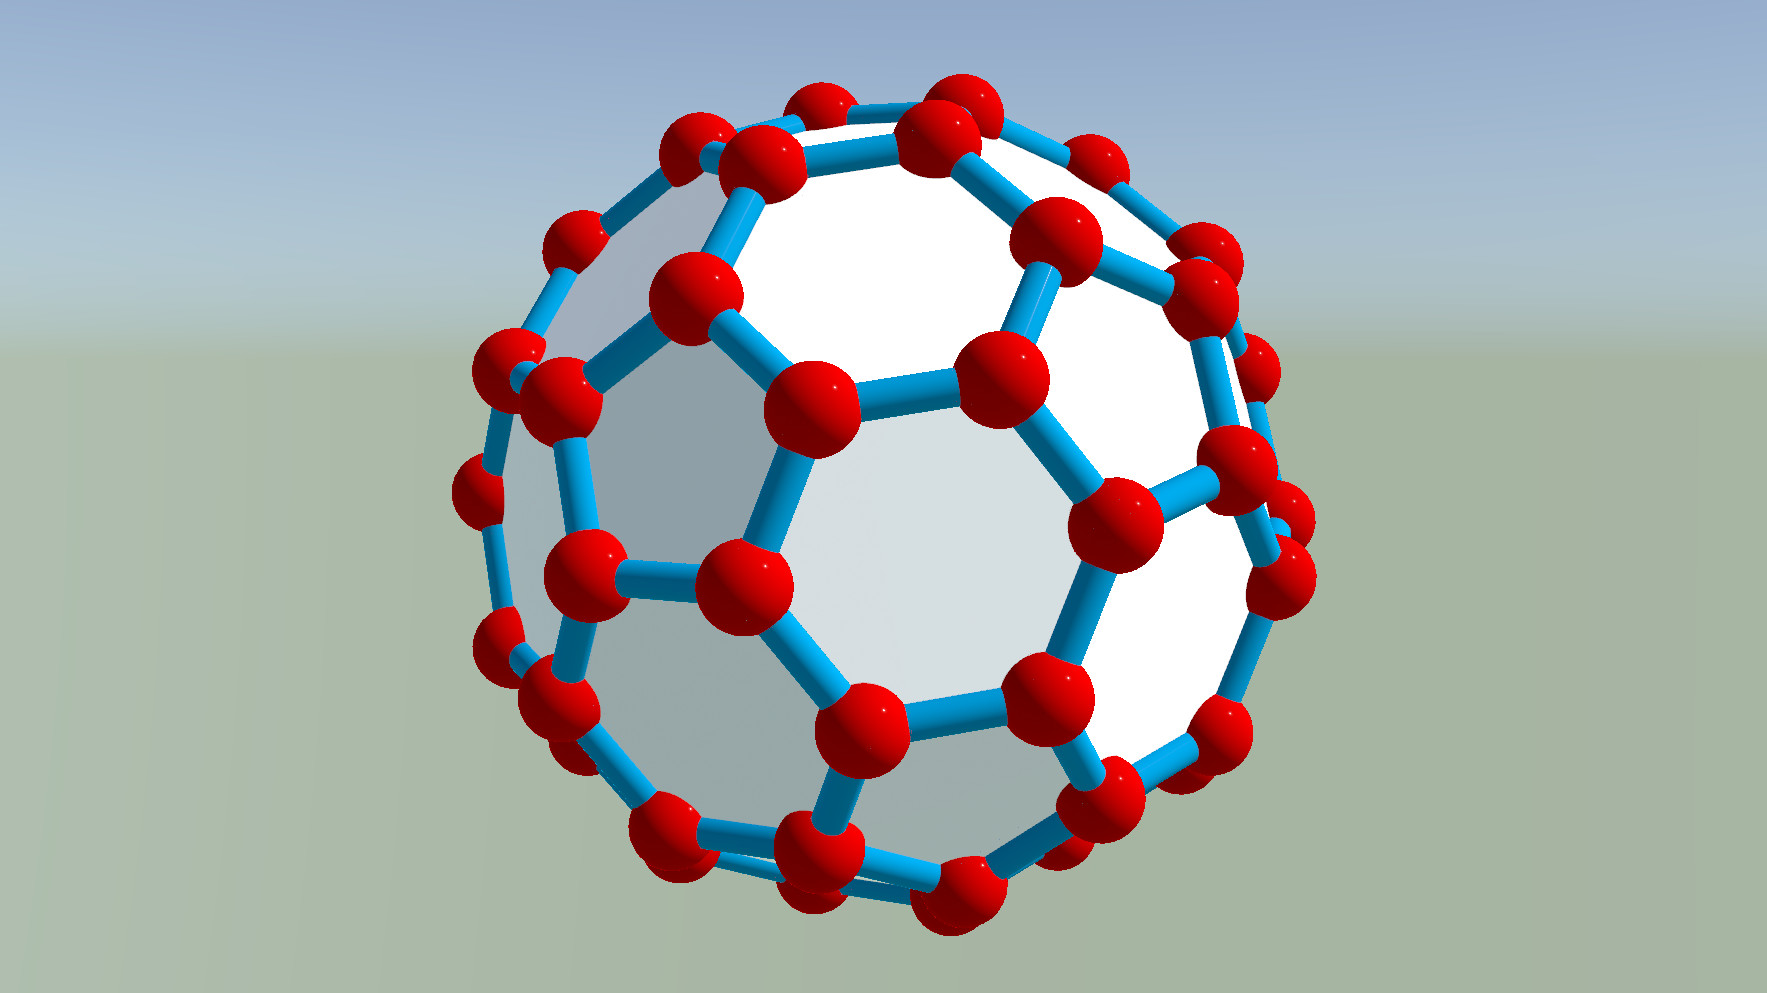
Let us start with the ball-and-stick platonic solid of the last post, only this time with a truncated dodecahedron (called a “Soccer Ball” in the menu).
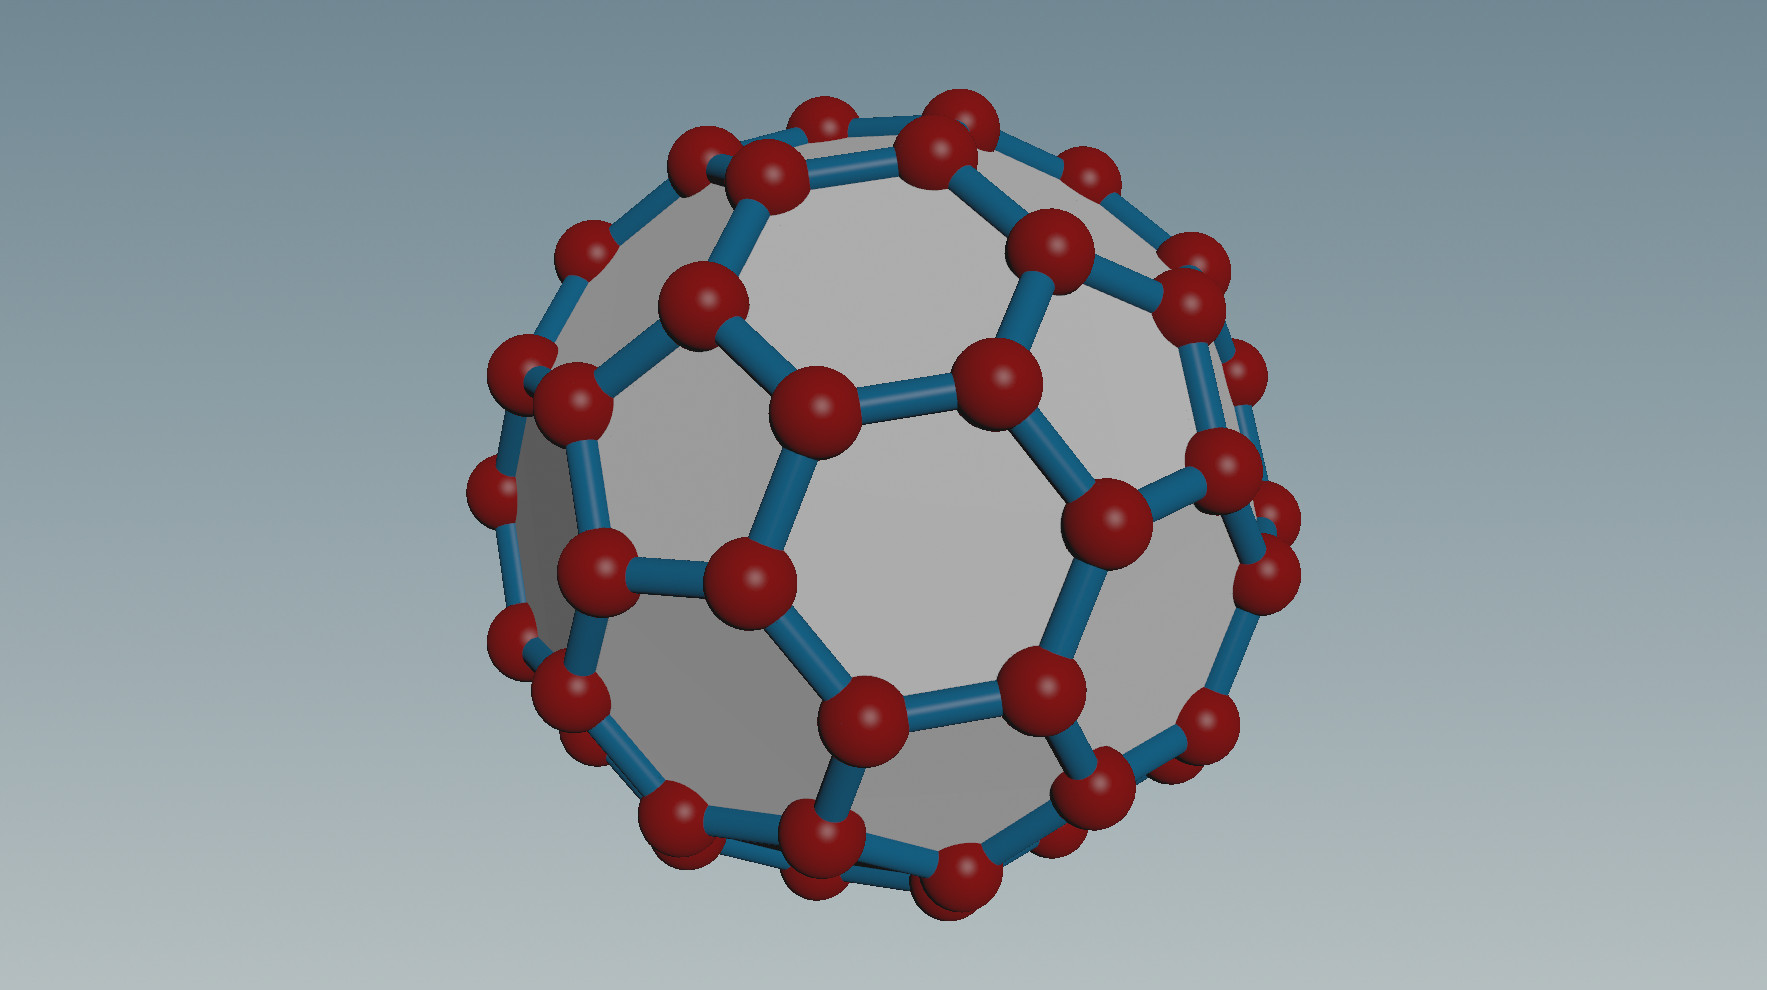
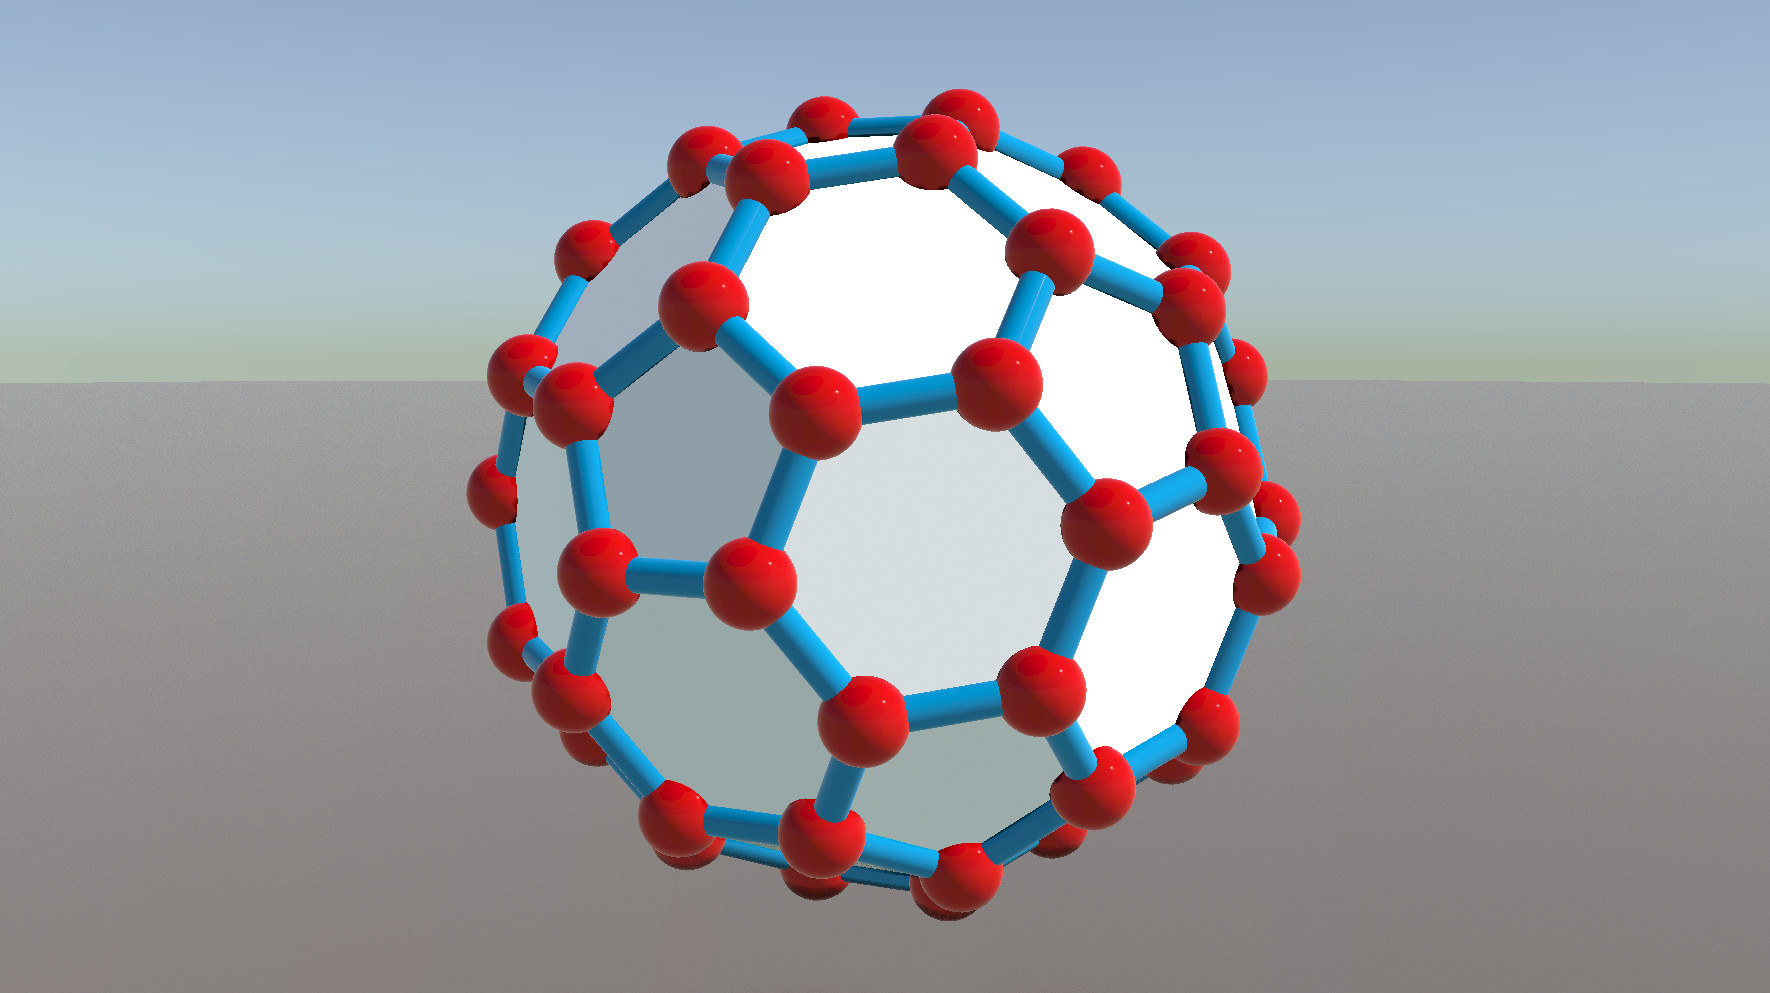
We begin by assigning a more sophisticated material to the whole object. Materials that we want to use are collected in the Material Palette, which is available as a tab on the Network View. In the list of available materials on the left find White Porcelain and drag it to the empty pane on the right. Now we zoom out of the geometry node, which is most conveniently achieved by typing “u” (for “up” in the hierarchy versus “in” to open up a node…). There we select the Geometry node that contains everything else. In its parameter interface select the Material tab. Click on the symbol that looks like a node with a mouse pointer over it. You get a list of all available materials (visible after expanding the “Shop” node). Select White Porcelain and hit the Accept button. Here is the result:
Next we add some light. A very convenient setup is provided by the Sky Light node. Place such a node on the top level of the network (next to the Geometry node). You will see two nodes appear, one containing the light that represents the sun and another one for the rest of the sky. All editing is done on the sky node (of type Environment Light), the settings of the sun will follow automatically. The most useful control determines the elevation of the sun (45 degrees by default), i.e. the time of the day. Varying this parameter we will get sky colors that are computed according to some standard physical model.
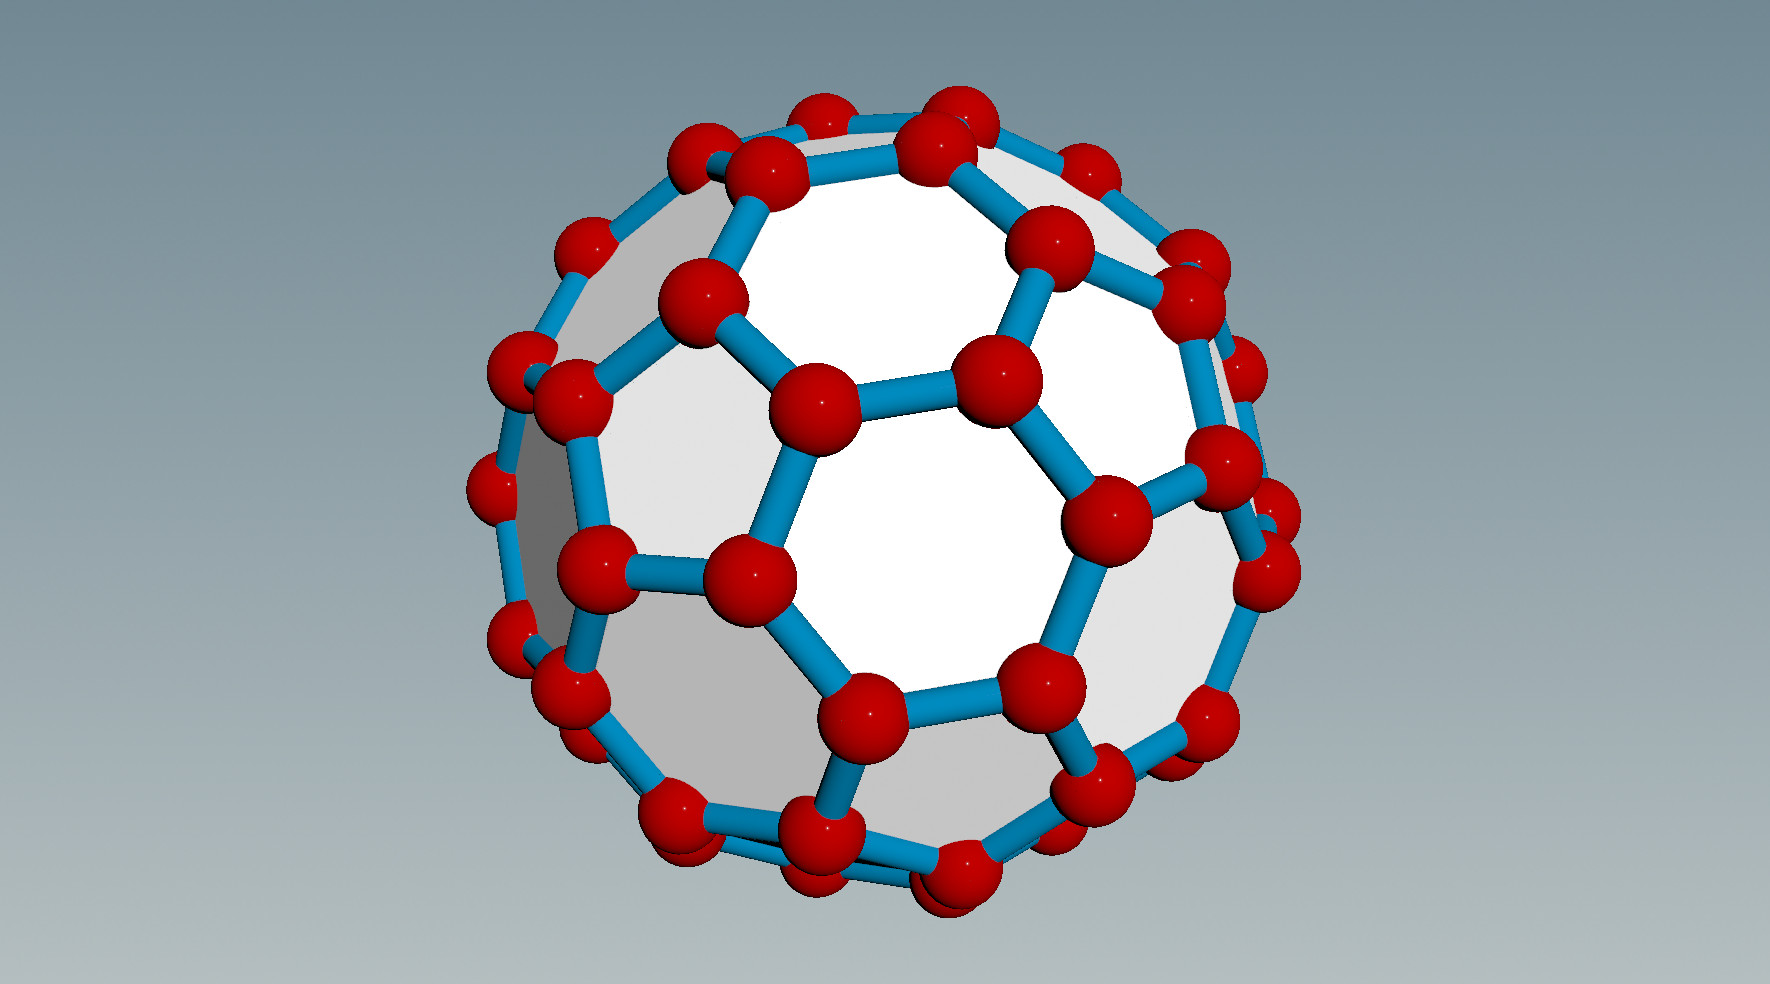
We want to see the sky also in the Render View, so we make a checkmark next to “Render Light Geometry”. The rendered image looks like this:

Still our truncated dodecahedron looks like floating in high altitude above a green landscape. So let us add some ground. On the top level of the network create another Geometry node and rename it to “ground”. Dive into it and create a Circle. Set its Orientation to “ZX Plane”, its Center to (0,-1.2,0) and its Scale to 100. Zoom out, add the material Clay to the Material Palette and assign it to the ground node. In the Scene View the change is not very spectacular:
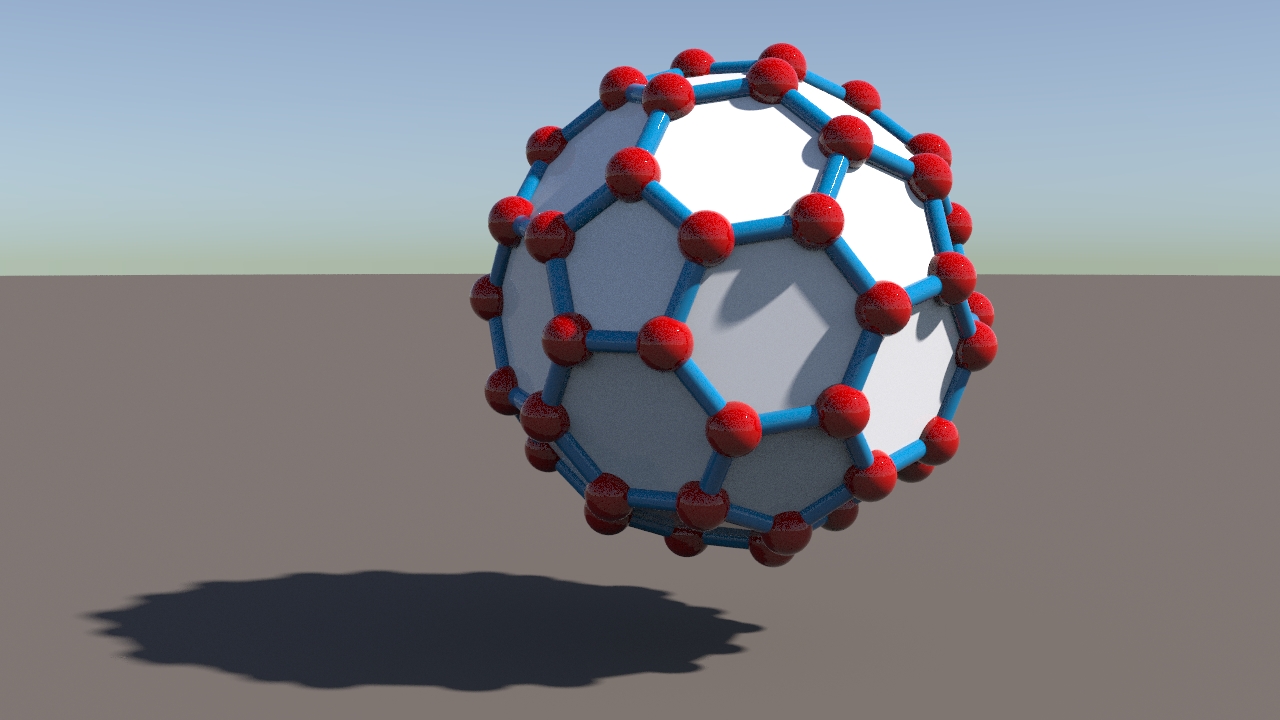
However, in the Render View the ground shields off the light from the lower half of the sky and receives a shadow:
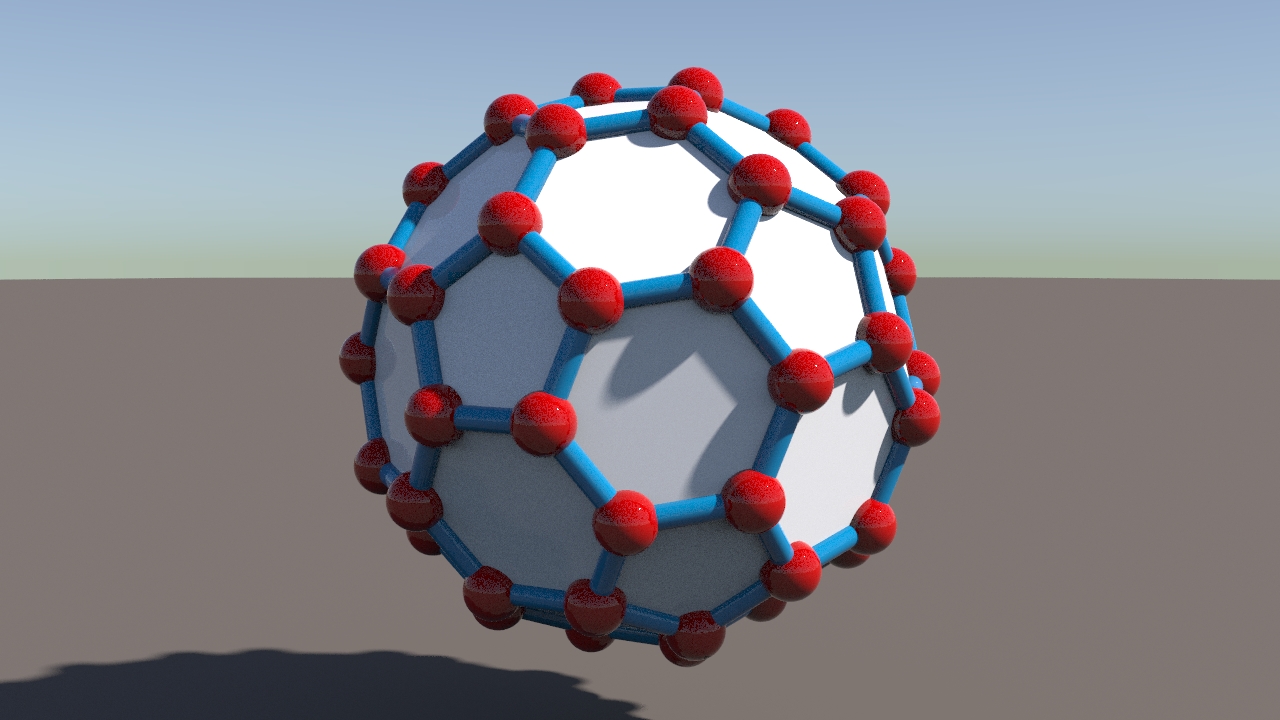
Adjusting the camera a bit we see the full shadow: